Quick answer: Most flame retardant masterbatch dispersion problems trace to one of five causes: insufficient shear or residence time, a carrier resin mismatched to the base polymer, moisture in a hygroscopic additive, dosing inaccuracy at high let-down rates, or plate-out from an overloaded formulation. The diagnostic shortcut is to look at where the defect appears — specks and streaks point to mixing, brittle or bubbled parts point to moisture, drifting burn results point to dosing, and tool deposits point to formulation.
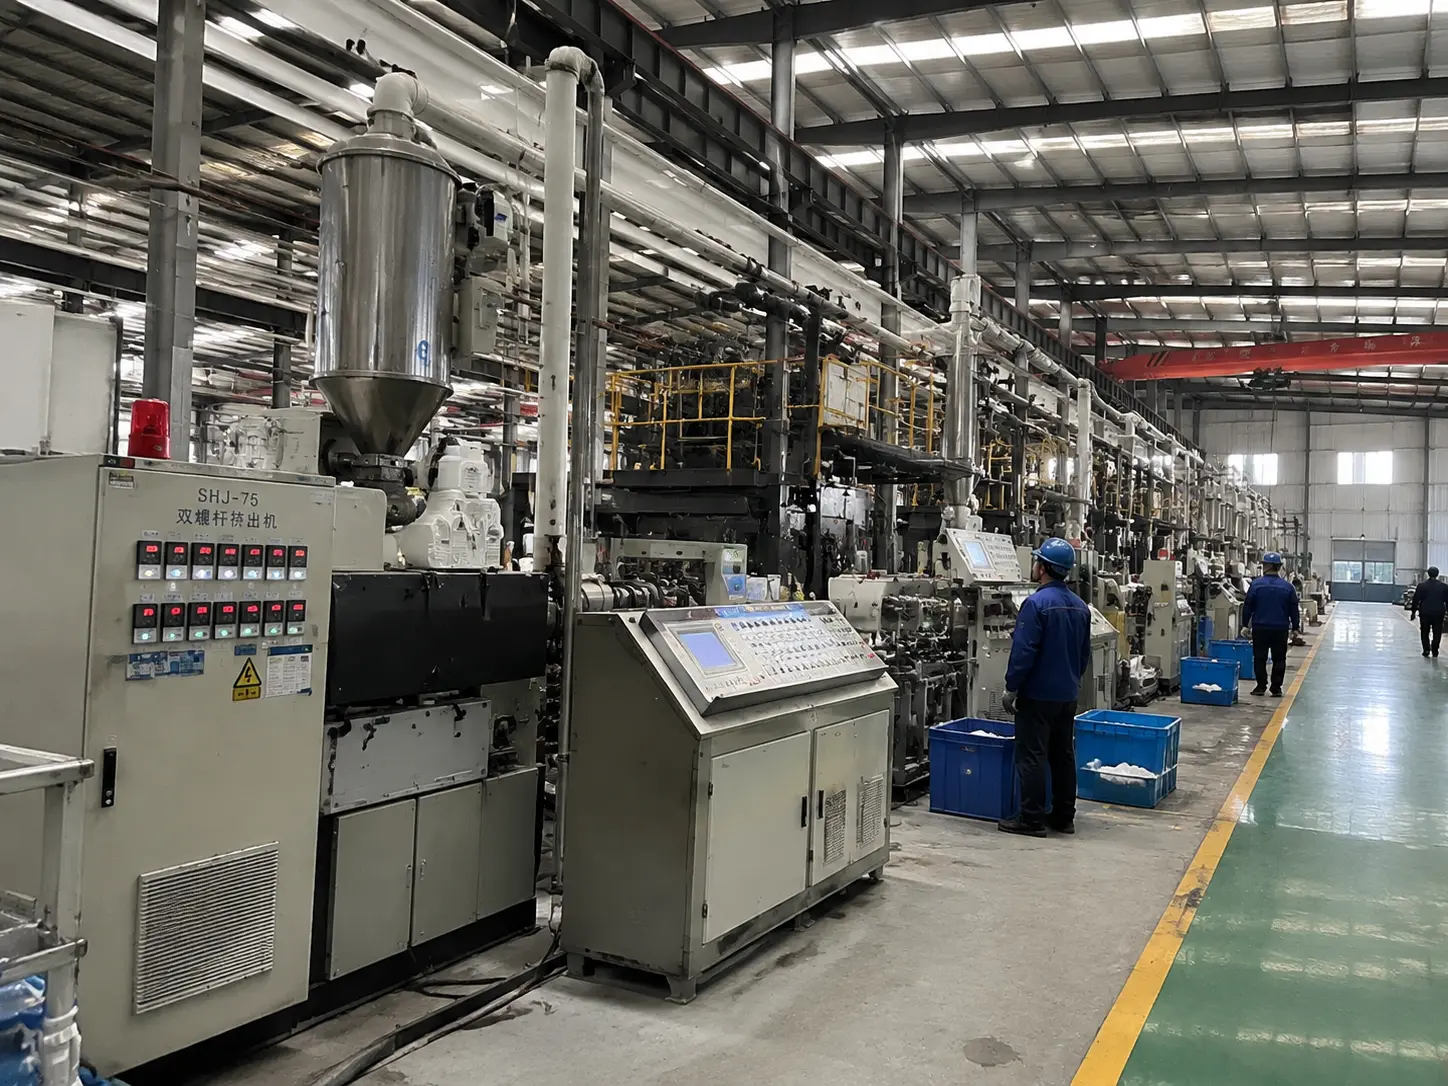
Flame retardant masterbatch runs at 15–50% addition, ten times what a colour masterbatch demands, and processing intuition built on colour simply does not transfer. A dispersion problem that would be cosmetic in a pigment application becomes a safety failure here: an undispersed agglomerate is a spot in your part with no flame retardant in it, and that spot is where the burn test will fail. This article is the troubleshooting sequence we walk customers through, in the order that finds the cause fastest.
Start With the Symptom
| What you see | Most likely cause | First thing to check |
|---|---|---|
| White specks, streaks, unmelted spots | Insufficient shear or residence time | Screw profile, back pressure, screw speed |
| Brittle parts, silver streaking, voids | Moisture in masterbatch or resin | Drying schedule and bag handling |
| Burn results vary shot to shot | Dosing inaccuracy or segregation in hopper | Gravimetric vs volumetric feeder; pellet size match |
| Deposits on tooling, vents, die lips | Plate-out — additive exceeding compatibility | Loading level, melt temperature, additive type |
| Delamination, poor weld lines, phase separation | Carrier resin incompatible with base | Carrier grade on the masterbatch TDS |
| Yellowing or brown streaks | Thermal degradation of the flame retardant | Melt temperature vs additive stability ceiling |
1. Shear and Residence Time
Q: Why won’t my flame retardant masterbatch disperse? Usually because the machine was set up for a material that needed far less mixing energy.
Injection moulding screws are compromise devices — they must melt, mix and meter, and general-purpose screws favour gentleness to protect polymer. At 30% masterbatch addition that gentleness becomes a liability. Three adjustments, in order of how often they solve the problem:
- Raise back pressure. The cheapest and most effective first move. It increases mixing work in the melt without changing hardware. Go up in steps and watch for melt temperature rise.
- Increase screw speed — carefully. More shear helps dispersion but generates heat, and many flame retardants have a decomposition ceiling you do not want to approach. This is a balance, not a maximisation.
- Change the screw or add a mixing element. If you run flame retardant compounds regularly, a barrier screw with a mixing section is a permanent fix rather than a per-job fight. On twin-screw compounding lines, kneading block placement matters more than total screw length.
Diagnostic trick: purge a small amount of melt into water, then break the cooled slug and look at the cross-section. Agglomerates that are invisible on the part surface show up clearly in a fracture face. It takes two minutes and settles the “is it dispersion?” question definitively.
2. Moisture — the Cause People Skip
Several flame retardant chemistries are hygroscopic, and the polymer partners often are too. The failure modes are indirect enough that moisture rarely gets blamed first: silver streaking, small voids, unexplained brittleness, and in polyester or polyamide systems, permanent molecular weight loss through hydrolysis.
Three rules that prevent most of it. Dry the masterbatch on the same schedule as the base resin, not less — people routinely dry the resin and tip in undried masterbatch. Reseal bags immediately; an opened bag left overnight in a humid plant can absorb enough moisture to matter at 30% addition. And treat drying as a specification, not a habit — the correct temperature and time belong on the work order, because a flame retardant masterbatch on a PA carrier and one on a PP carrier have completely different requirements.
3. Dosing Accuracy at High Let-Down
At 2% addition, a 10% dosing error shifts you to 2.2% and nobody notices. At 35% addition, the same relative error puts you at 38.5% or 31.5% — and the low end may quietly fail UL94 while the parts look perfect. Three specific traps:
- Volumetric feeders and density mismatch. Flame retardant masterbatch is frequently denser than virgin resin because of mineral or antimony content. A volumetric feeder calibrated on resin delivers the wrong mass fraction. Gravimetric dosing is the right answer above roughly 10% addition.
- Pellet size and shape mismatch causing hopper segregation. If the masterbatch pellets are noticeably different in size or shape from the resin, they separate during hopper flow — the mix at the throat is not the mix you blended. Matched pellet geometry is worth asking your supplier about.
- Regrind entering uncounted. Regrind already carries flame retardant. If the regrind fraction varies through a shift, so does your effective loading. Fix the regrind percentage and compensate the virgin dose.
How the loading number itself should be calculated — from active content rather than a rule of thumb — is worked through with examples in our guide on flame retardant masterbatch loading ratio.
4. Plate-Out and Blooming
Q: Why is there white residue building up on my mould and vents? Plate-out — additive migrating out of the melt and depositing on metal surfaces.
Plate-out is the polymer telling you it cannot hold what you have put in it, and it costs real money: mould cleaning stops, cosmetic rejects, and eventually vent blockage causing burn marks. Four contributors, roughly in order of frequency: loading above the system’s compatibility limit; melt temperature high enough to volatilise part of the additive package; a low-molecular-weight additive (small-molecule phosphate esters are more prone than polymeric or reactive types); and inadequate venting concentrating what does migrate.
The fix is usually formulation rather than process. Where a customer is fighting persistent plate-out, we look first at whether a higher-molecular-weight or reactive grade of the same chemistry solves it — the classic case being a small-molecule phosphate ester replaced by an oligomeric one, which we cover in our comparison of BDP, RDP and TPP.
5. Carrier Compatibility
At 30–40% addition, the carrier is not a minor ingredient — it is a third of your part’s polymer. Mismatch shows up as delamination, weak weld lines, reduced impact strength or visible phase separation, and it is frustrating to diagnose because every individual material is within spec.
The general rule is that the carrier should match the base polymer family, and ideally the grade characteristics too. A universal carrier that “works in everything” is a compromise that works well in nothing at these loadings. Where a customer runs an unusual base resin — a high-flow copolymer, a specific impact grade, a recycled stream — matching the carrier is a normal part of building a custom masterbatch, not a special request. The format decision behind all of this, masterbatch versus powder additive versus finished compound, is laid out in flame retardant additives vs masterbatch.
Storage and Shelf Life
Briefly, because it prevents problems rather than solving them: store sealed in a dry area off the floor, ideally below 30 °C and away from direct sun; keep opened bags resealed and use them first; and treat 12–24 months as a typical guide for a properly stored flame retardant masterbatch, with the caveat that hygroscopic and mineral-loaded grades are less forgiving of a damp warehouse than a plain polyolefin carrier. Material that has been sitting a long time is worth a moisture check and a small trial before it goes into a certified production run.
If you are working through a dispersion or plate-out problem right now, the fastest route is usually to send us the masterbatch grade, the base resin, your current process settings and a photo of the defect — our formulation team can usually narrow it to one or two causes before anyone changes a setting on the line. The full masterbatch range, including custom carrier work, is on our flame retardant masterbatch page. If dispersion checks out and the compound still underperforms, the cause is often another additive — see flame retardant interactions with other additives.
FAQ
How do I know if poor dispersion is affecting my flame rating?
Burn multiple specimens from different positions in the shot and across a production run. Consistent results suggest dispersion is adequate; scattered results — some bars passing V-0, others failing — are the signature of an inhomogeneous compound. A fracture-face inspection of a purged slug confirms it visually.
Should flame retardant masterbatch be dried before processing?
In most cases yes, on the same or a stricter schedule than the base resin. Mineral-loaded and nitrogen-based systems, and any masterbatch on a polyamide or polyester carrier, are the least tolerant of skipped drying. The specific temperature and time should be on the product’s TDS.
Can I fix dispersion problems by adding more masterbatch?
No — that treats a mixing problem as a dosing problem. More poorly dispersed additive gives you more agglomerates, higher cost, and often worse plate-out. Fix the mixing, the moisture or the carrier match; the loading level is a separate question.
Is a compounded flame retardant material better than masterbatch for difficult cases?
Frequently, yes. A fully compounded material is mixed on a twin-screw line built for the job, so dispersion is settled before it reaches you and your line runs a single material stream. The trade is less flexibility and higher inventory commitment. Above roughly 40% masterbatch addition, or where dispersion keeps causing rejects, the compound route is usually the better economics.
Final Thoughts
Most dispersion complaints trace back to shear, moisture or metering rather than to the additive itself. Work through those before changing supplier. If dispersion keeps costing you scrap, moving to ready-to-run compound shifts that problem to our partner factory’s twin-screw line instead of yours – often cheaper than solving it repeatedly in-house. Tell us your screw configuration and we will say whether the grade or the process is the issue.
Worth noting where many of these problems originate: an incomplete purchase specification. Particle size distribution and surface treatment are rarely on the quotation, and both change dispersion behaviour more than screw speed does — see compounding flame retardants.
Worth noting that several of these symptoms trace back to grade selection rather than to your line: a carrier that does not match your resin, or a particle size wrong for your process. The selection sequence is in how to choose a flame retardant masterbatch.
—— Rectivas Materials 团队 老陈